I do live in New York (not too far away from the city) and from time to time I try to get into the city whether I'm meeting a few girlfriends for dinner and cocktails or catching some of the night life. A few weeknights ago, hubby and I took our son and a girlfriend of mine to see the Radio City Christmas Spectacular show. It was a great show and definitely worth seeing. I've seen the show a number of times over the years and this was the best I've ever seen (thanks to 3D effects and visual enhancements). My favorite part is the gradual falling of the wooden toy soldiers (a.k.a. "The Rockettes"). If you are ever in town around Christmas, you should definitely check this out.
We also went to see the famous Indian comic, Russell Peters since it was the comedy festival in town, at Carolines on Broadway a few weeks ago. We met a few friends in the city for dinner first at Arianna Afghan Kabob Restaurant (on 9th Avenue). This is a narrow, tiny hole in the wall restaurant, but as I've come to know over the years, the hole in the wall restaurants are ususally the ones where the food is so authentic and seriously that good. When we got there the owner/cook/seating hostess/waiter (basically a one man show!) promised to kick out other patrons to accommodate us. Mind you, the restaurant only had maybe 10 tables (if even!). Not only was the food stellar, but the service was entertaining, thanks to our waiter/seating hostess/owner/cook! After dinner we headed over to see Russell Peters and it was an awesome show. I saw him a few years back and was glad that he didn't recycle any of his old material. In fact, his whole routine was basically all improv, making jokes out of people in the audience and such. We had a really great time and basically laughed our pants off the entire night.
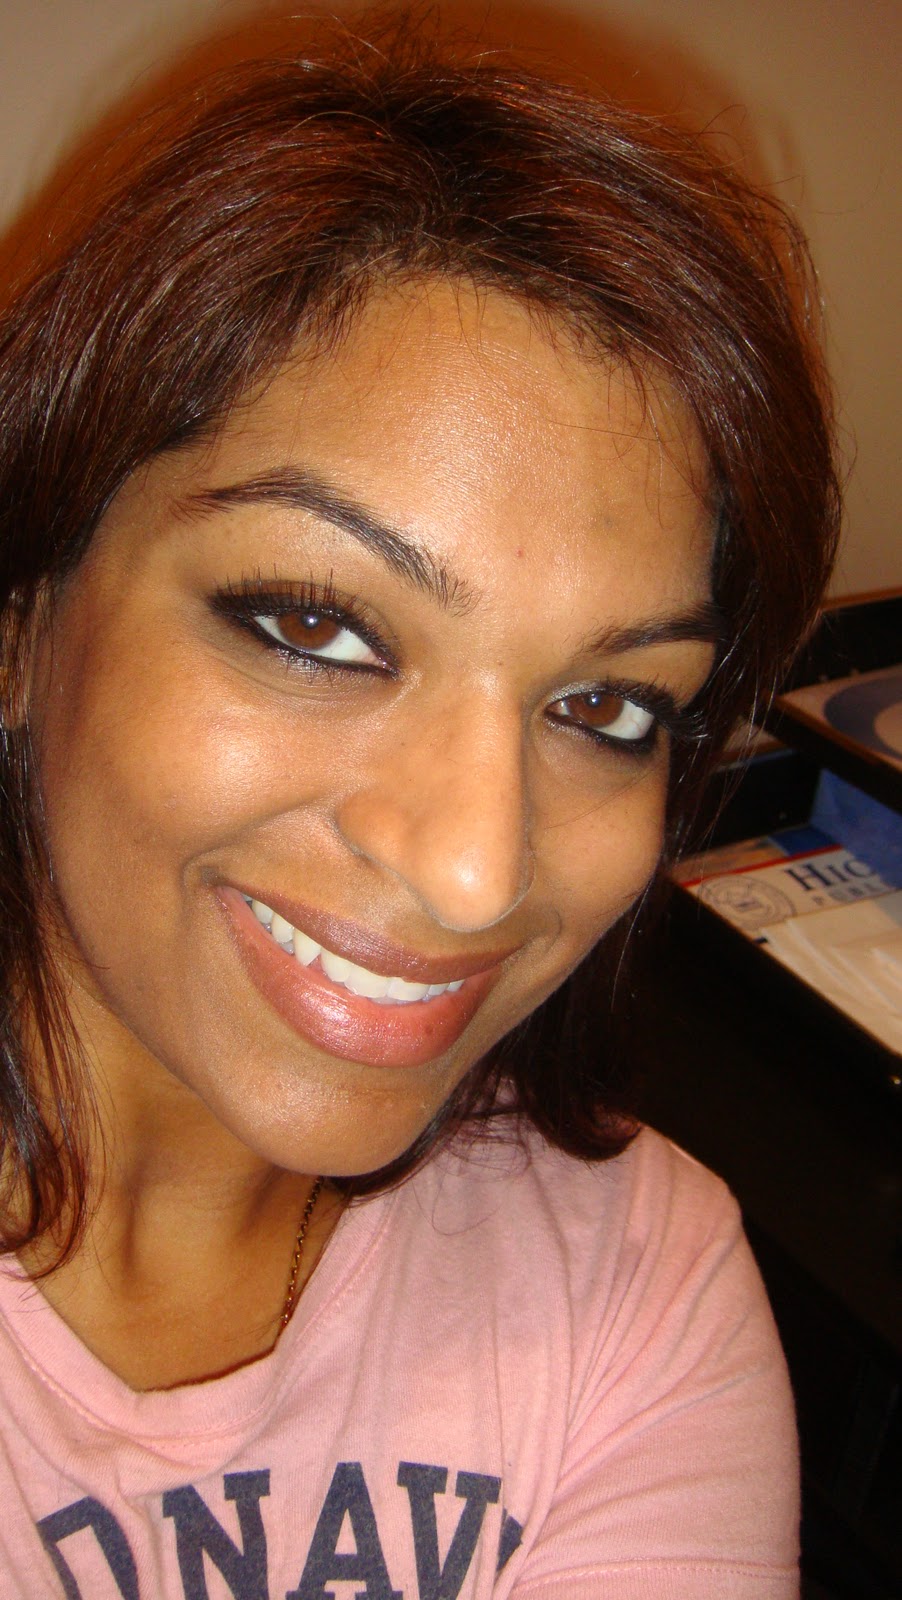
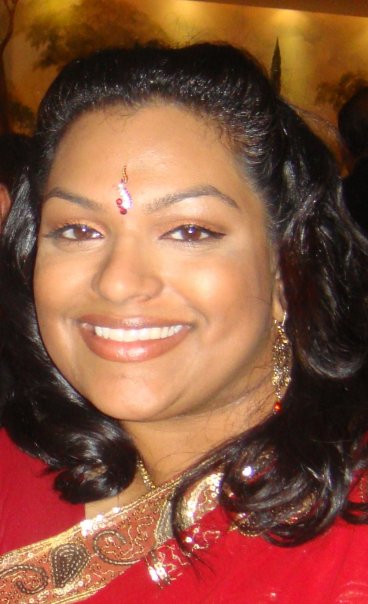
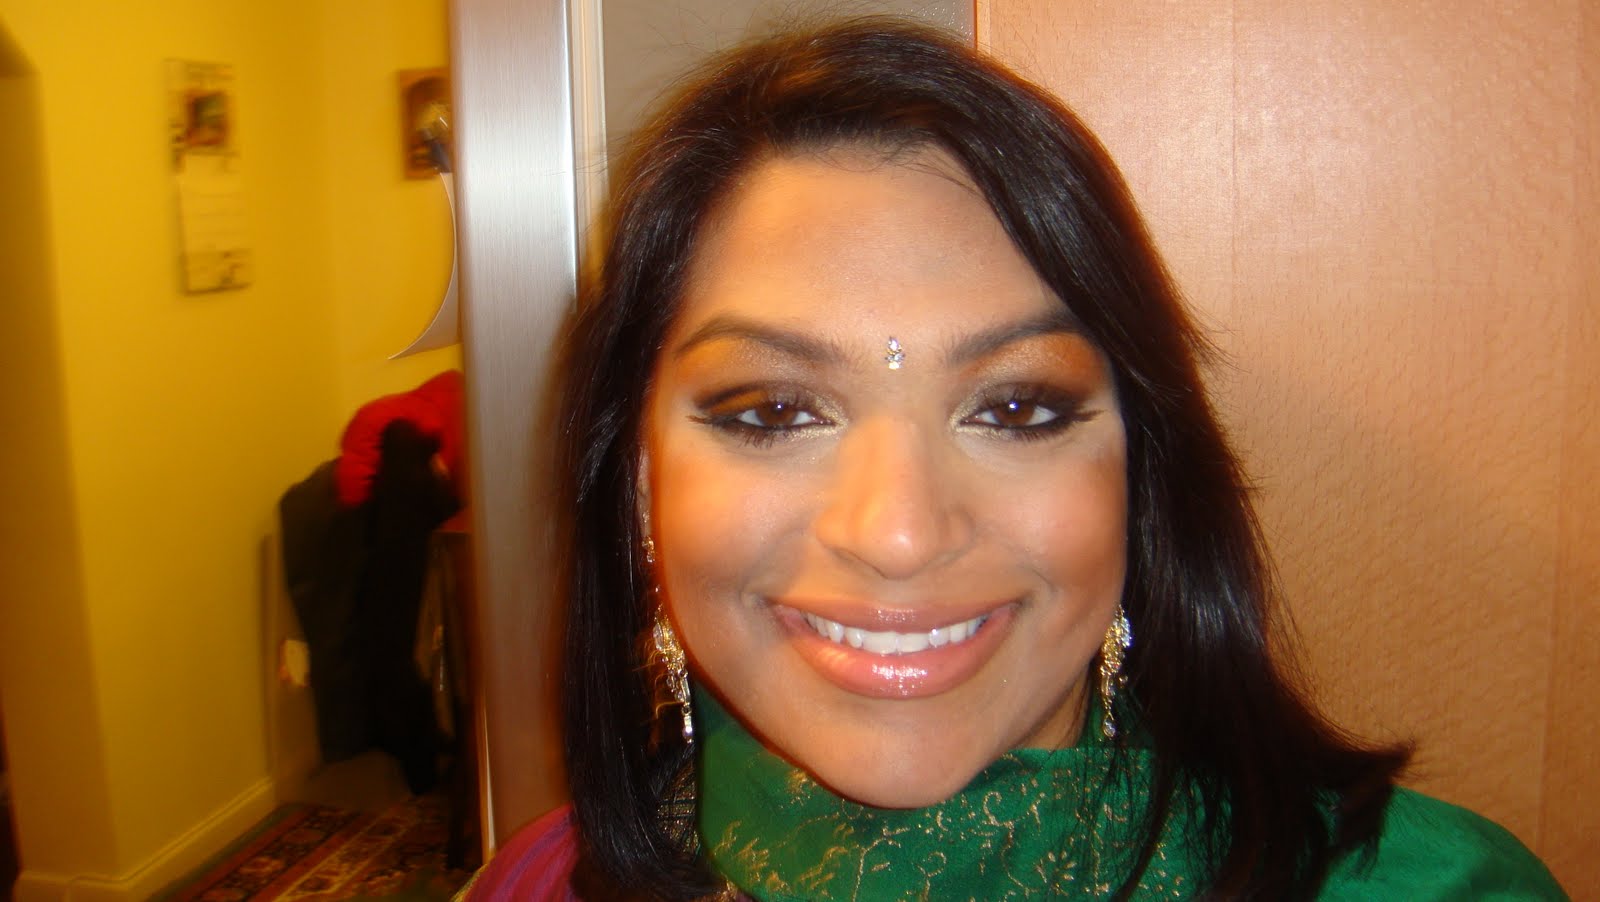
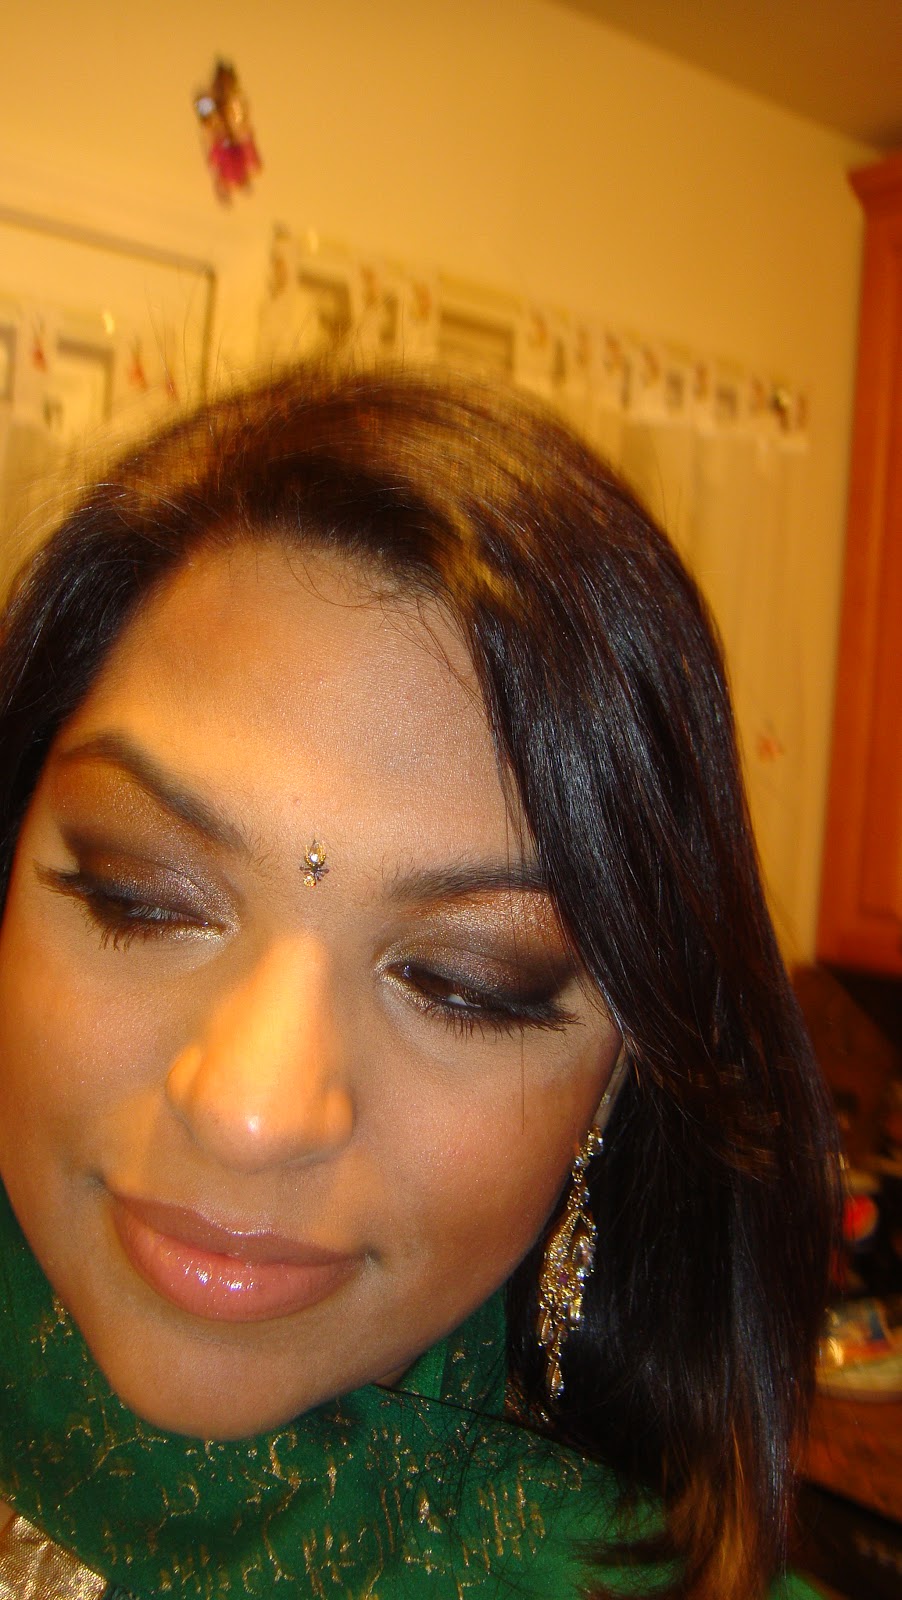
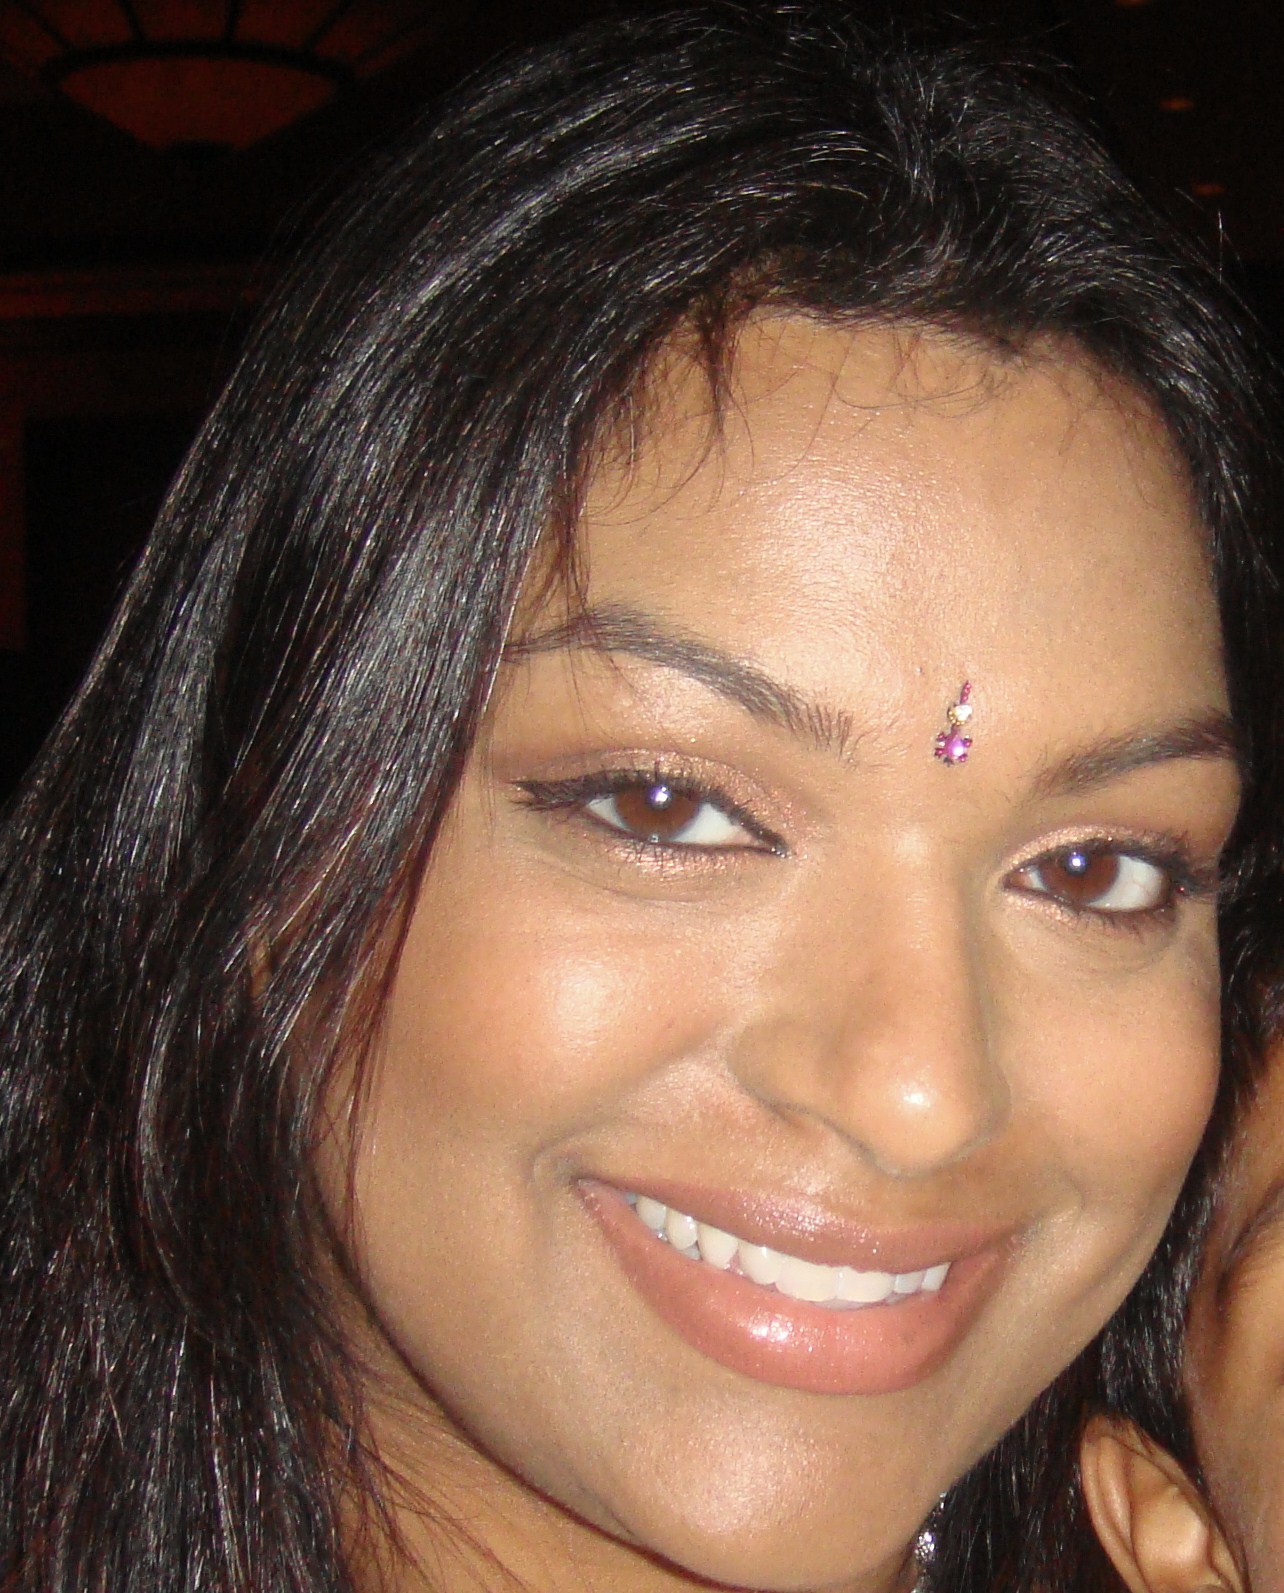
Whenever I go into the city, I do like to get all dolled up...its part of the glamour of city life! I was planning to wear a green/black halter blouse and black skirt. I kept thinking that the blouse was green, but looking back it is actually more light teal than green. Anyway, since I do love smokey eyes, I decided to go with a smokey green eye paired with nude lips and this is what I came up with:


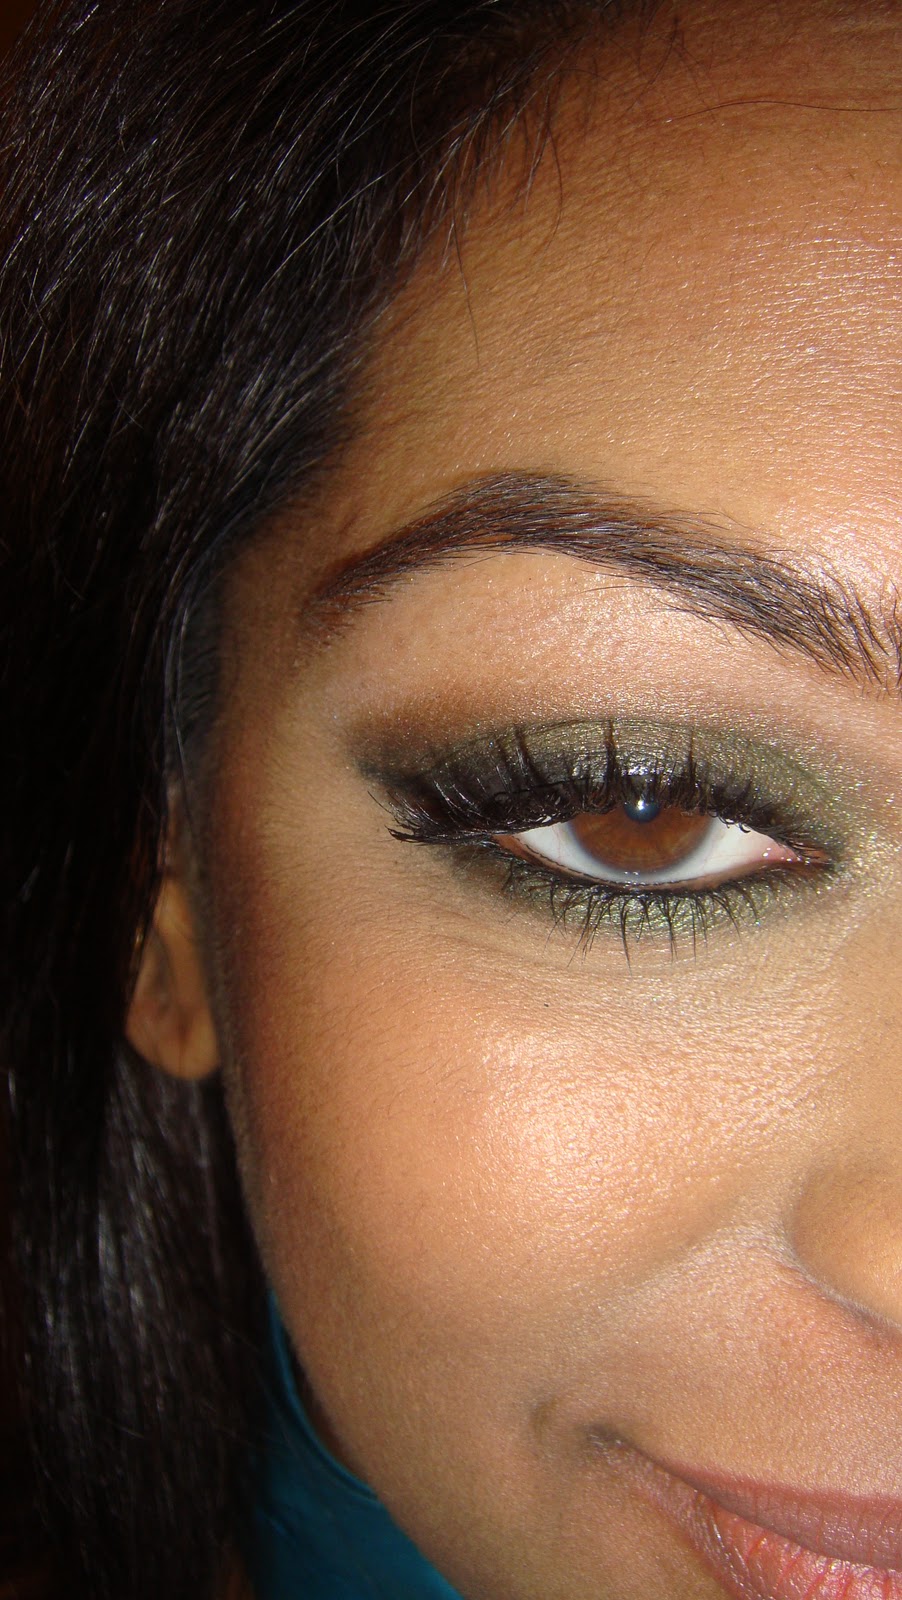
Here's the full breakdown...
FACE:
Forgot to put moisturizer!
Smashbox Primer Light (for oil-control)
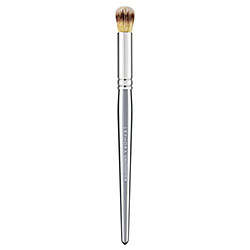
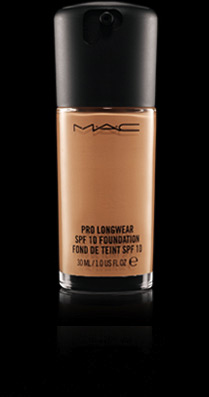
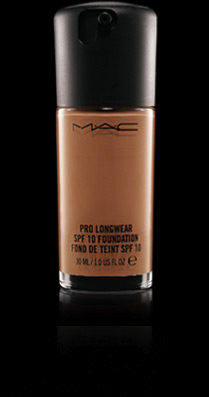
MAC Prolongwear Foundation - NC42, applied with MAC 109 brush
MAC Loose Mineral Powder - Medium Dark, applied with the same brush
EYES:
Urban Decay Primer Potion
MAC Paint Pot - Rubenesque
MAC eyeshadow in Humid - all over the lid with the 239 brush as well as smudged under the lower lashline
MAC eyeshadow in Swiss Chocolate - to blend in the crease with the 217 brush
MAC eyeshadow in Retrospeck- on top of Humid with the 239 brush
MAC Pigment in Forest Green - to give that smokey effect in the crease area, with the same 217
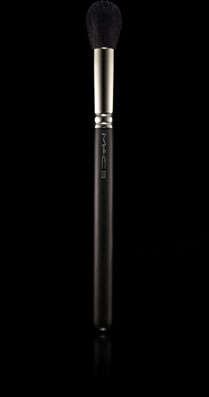
MAC eyeshadow in Femme Fi - to highlight with the 227 brush
Urban Decay 24/7 eyeliner in Zero - on the upper and lower lashlines as well as to tightline
MAC eyeshadow in Carbon - to soften the upper lash line, smudged out a bit
Ardell False Lashes - Demi Wispies
Maybeline Mascara - Clear (to attach my real lashes to the fake ones, also makes it easier to take off)
CHEEKS:
MAC Blush - Blunt, to contour with the 168 brush
Elf Blush/Bronzer duo - the blush side (supposedly the dupe for the famous NARS Orgasm blush, and very close I might add!)
LIPS:
NYX Lipliner - Coffee
MAC Lipstick - Velvet Teddy
MAC Lustreglass - Love Nectar
Hope you guys enjoyed reading this post as much as I enjoyed creating this look. Please let me know your thoughts and feedback and your way of creating a Smokey Green eye.
Sending positive thoughts your way...
CC